
Create a workspace
Creating a workspace takes a couple of minutes through the in-app wizard. You'll pick what kind of group it's for, give it a name, name the AI agent your team will chat with, and optionally set up a channel so people can reach it from outside the app. This guide walks through each step.
A workspace is a shared Kyona for your team. Everyone you invite chats with the same agent, which carries shared context across the people you add.
Two ways to start
There are two ways to kick off a new workspace:
- From the Home tab — scroll to the bottom and tap the Create a Workspace card.
- From the workspace switcher — tap the workspace name at the top of Home to open the switcher, then tap Create New Workspace.
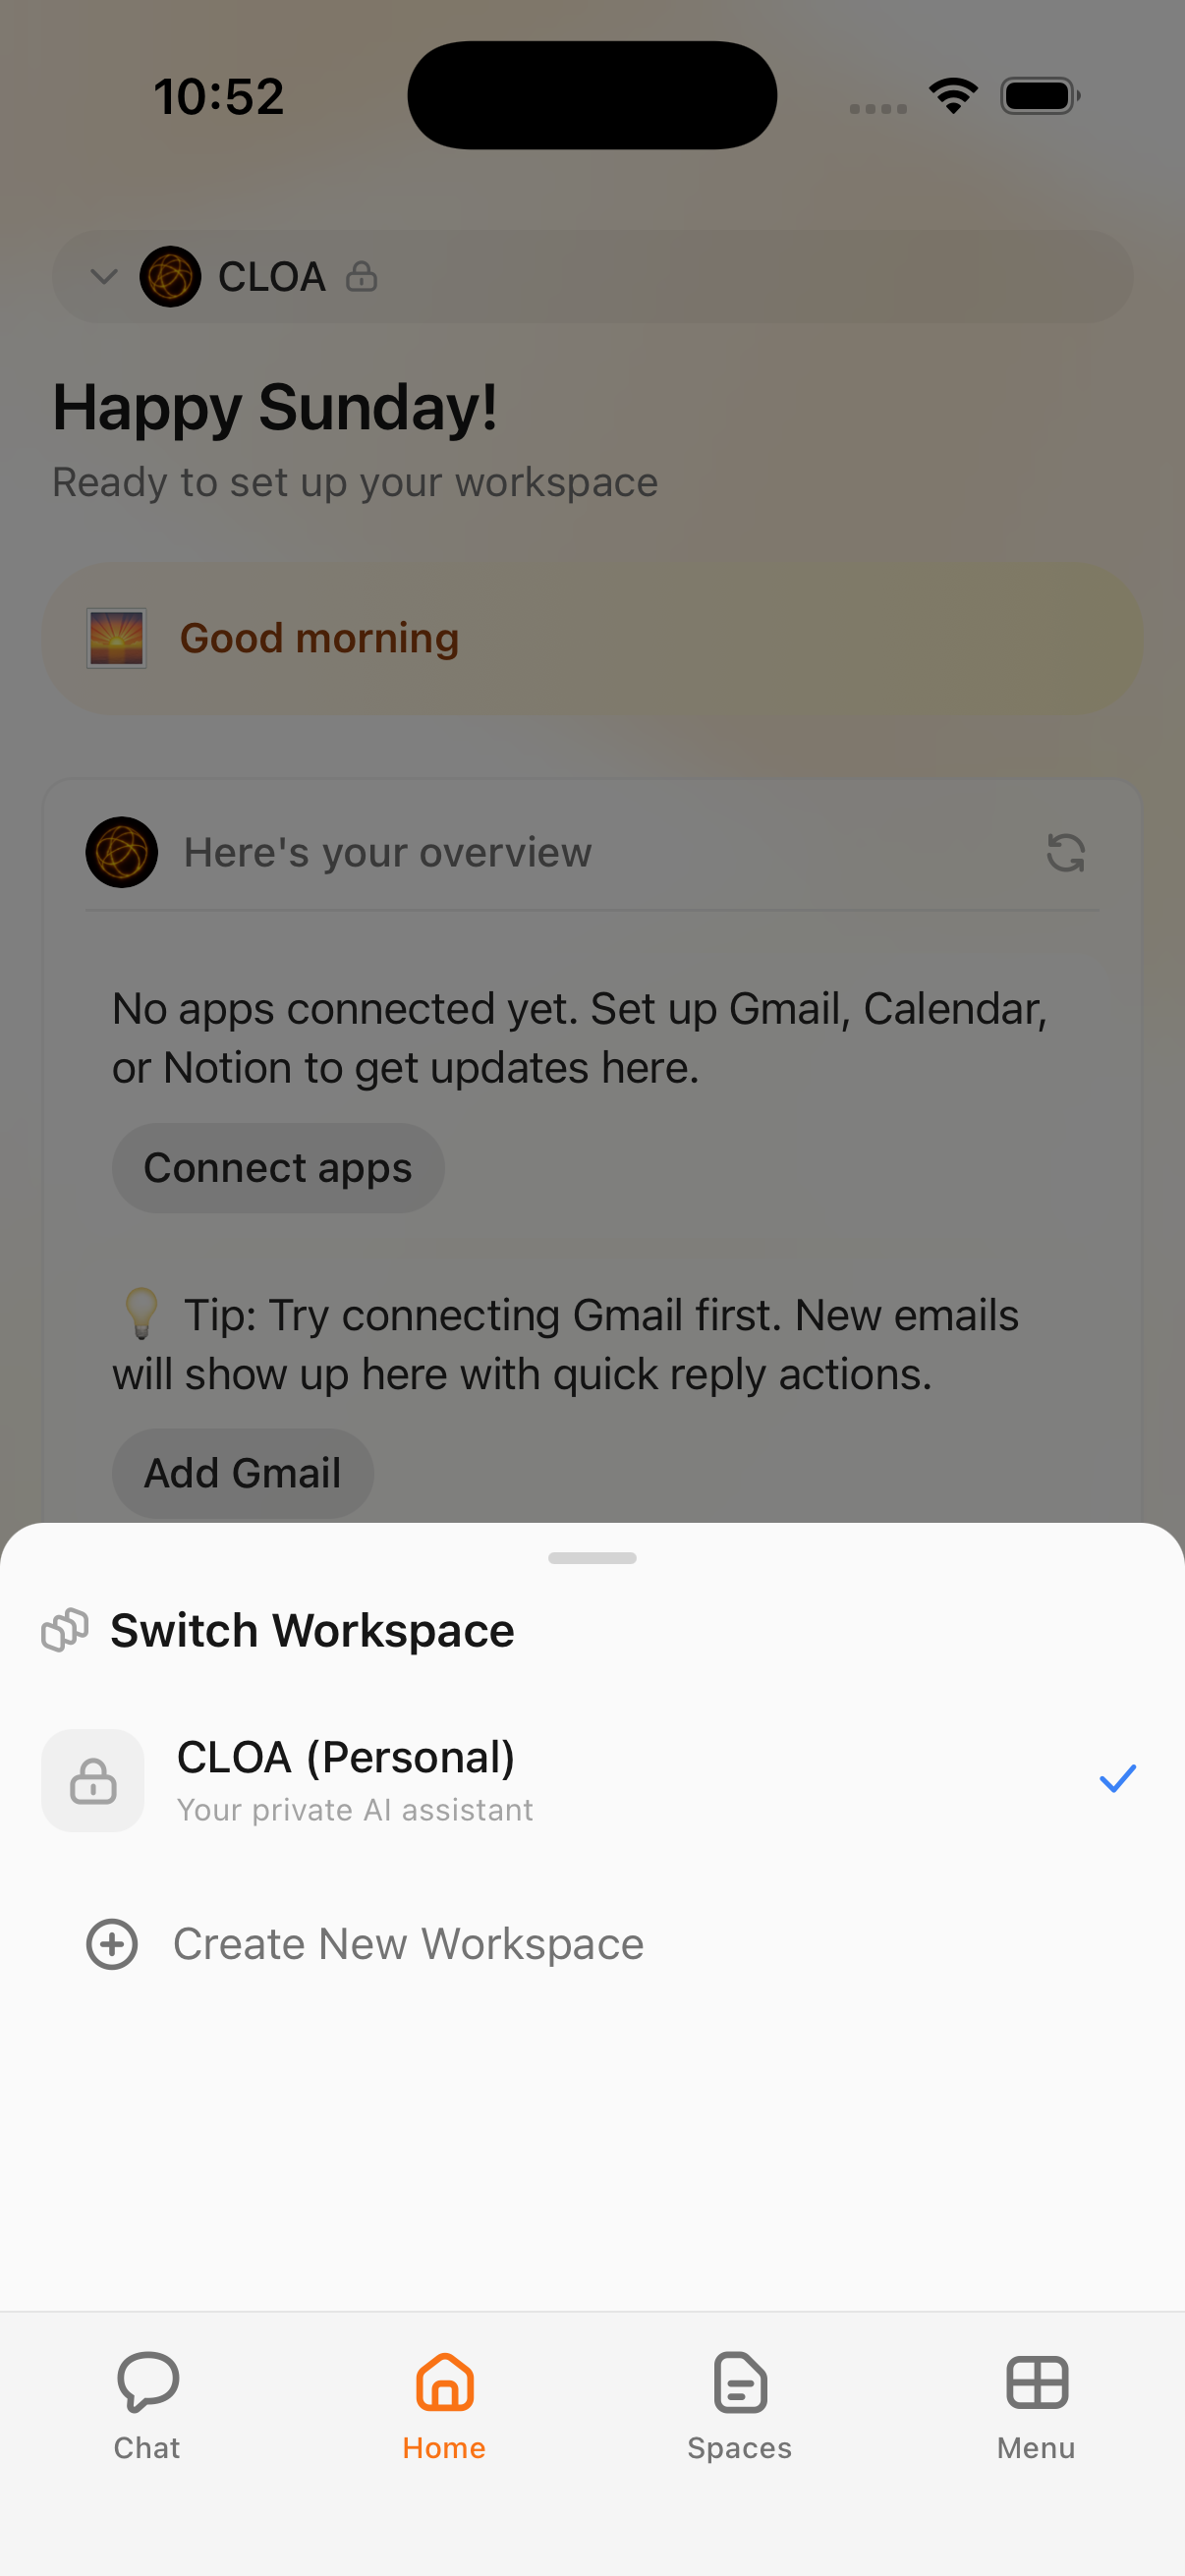
Either one drops you into the same wizard.
Step 1: Pick a group type
First, choose what kind of group this is. It tunes how the workspace is set up — it doesn't cap how many people you can invite.
- Small Group — friends, couples, or a small team. Simple and easy.
- Organization — larger teams that want teamspaces to organize members into separate areas.
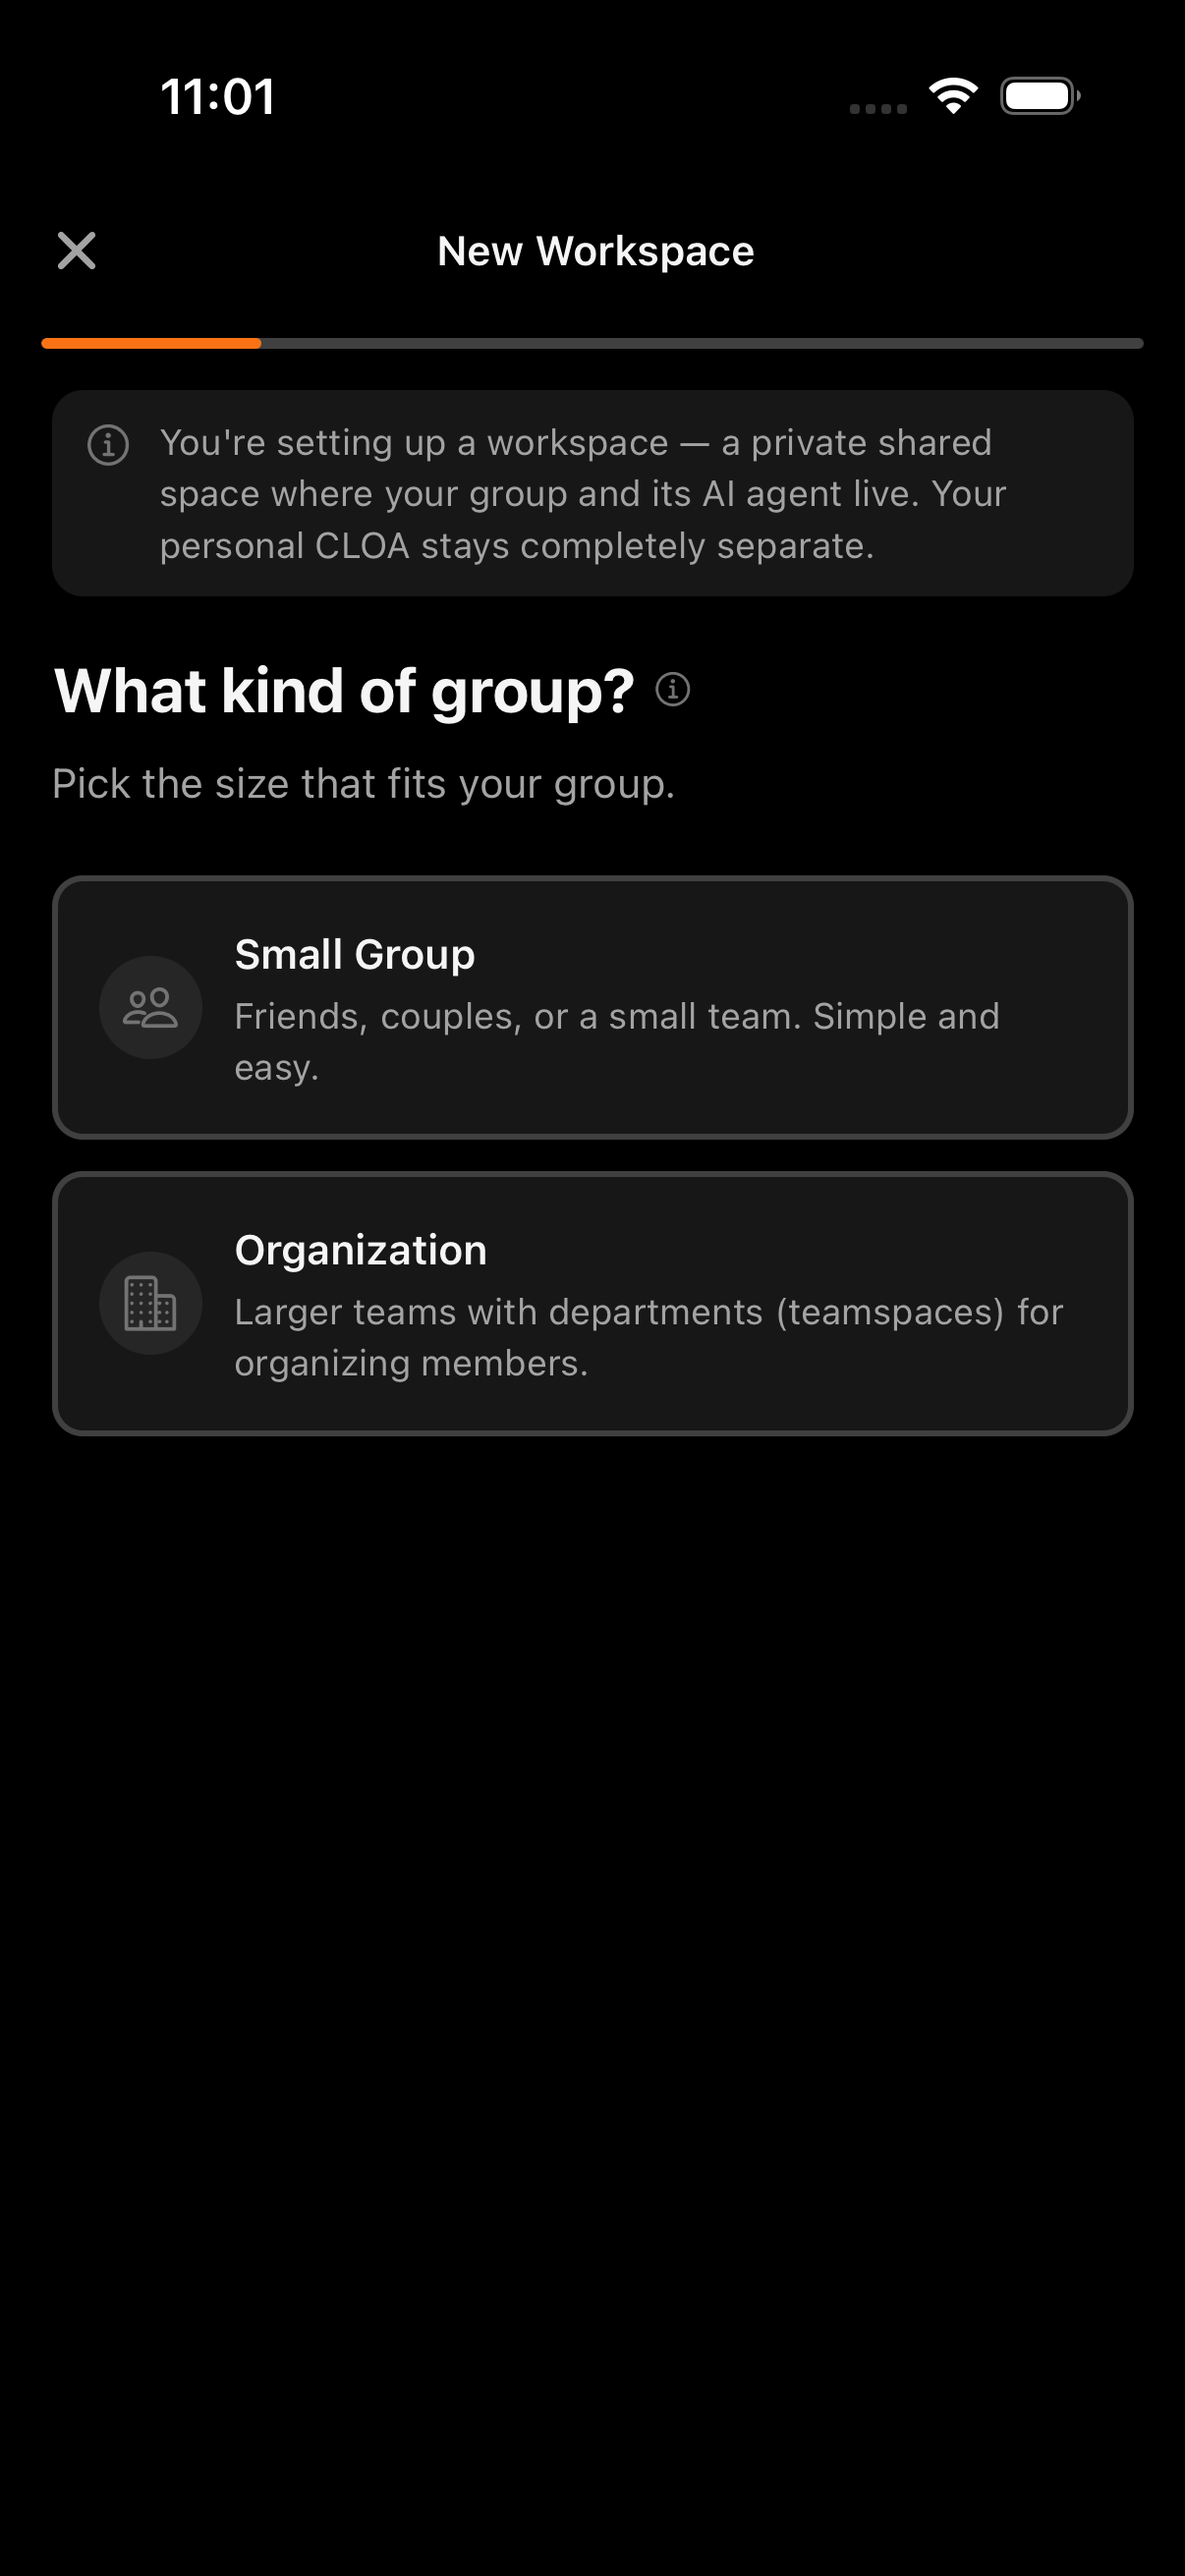
Step 2: Name your group
Give your workspace a name and pick an emoji for it. The name and emoji show up in the workspace switcher so it's easy to spot when you're juggling more than one.
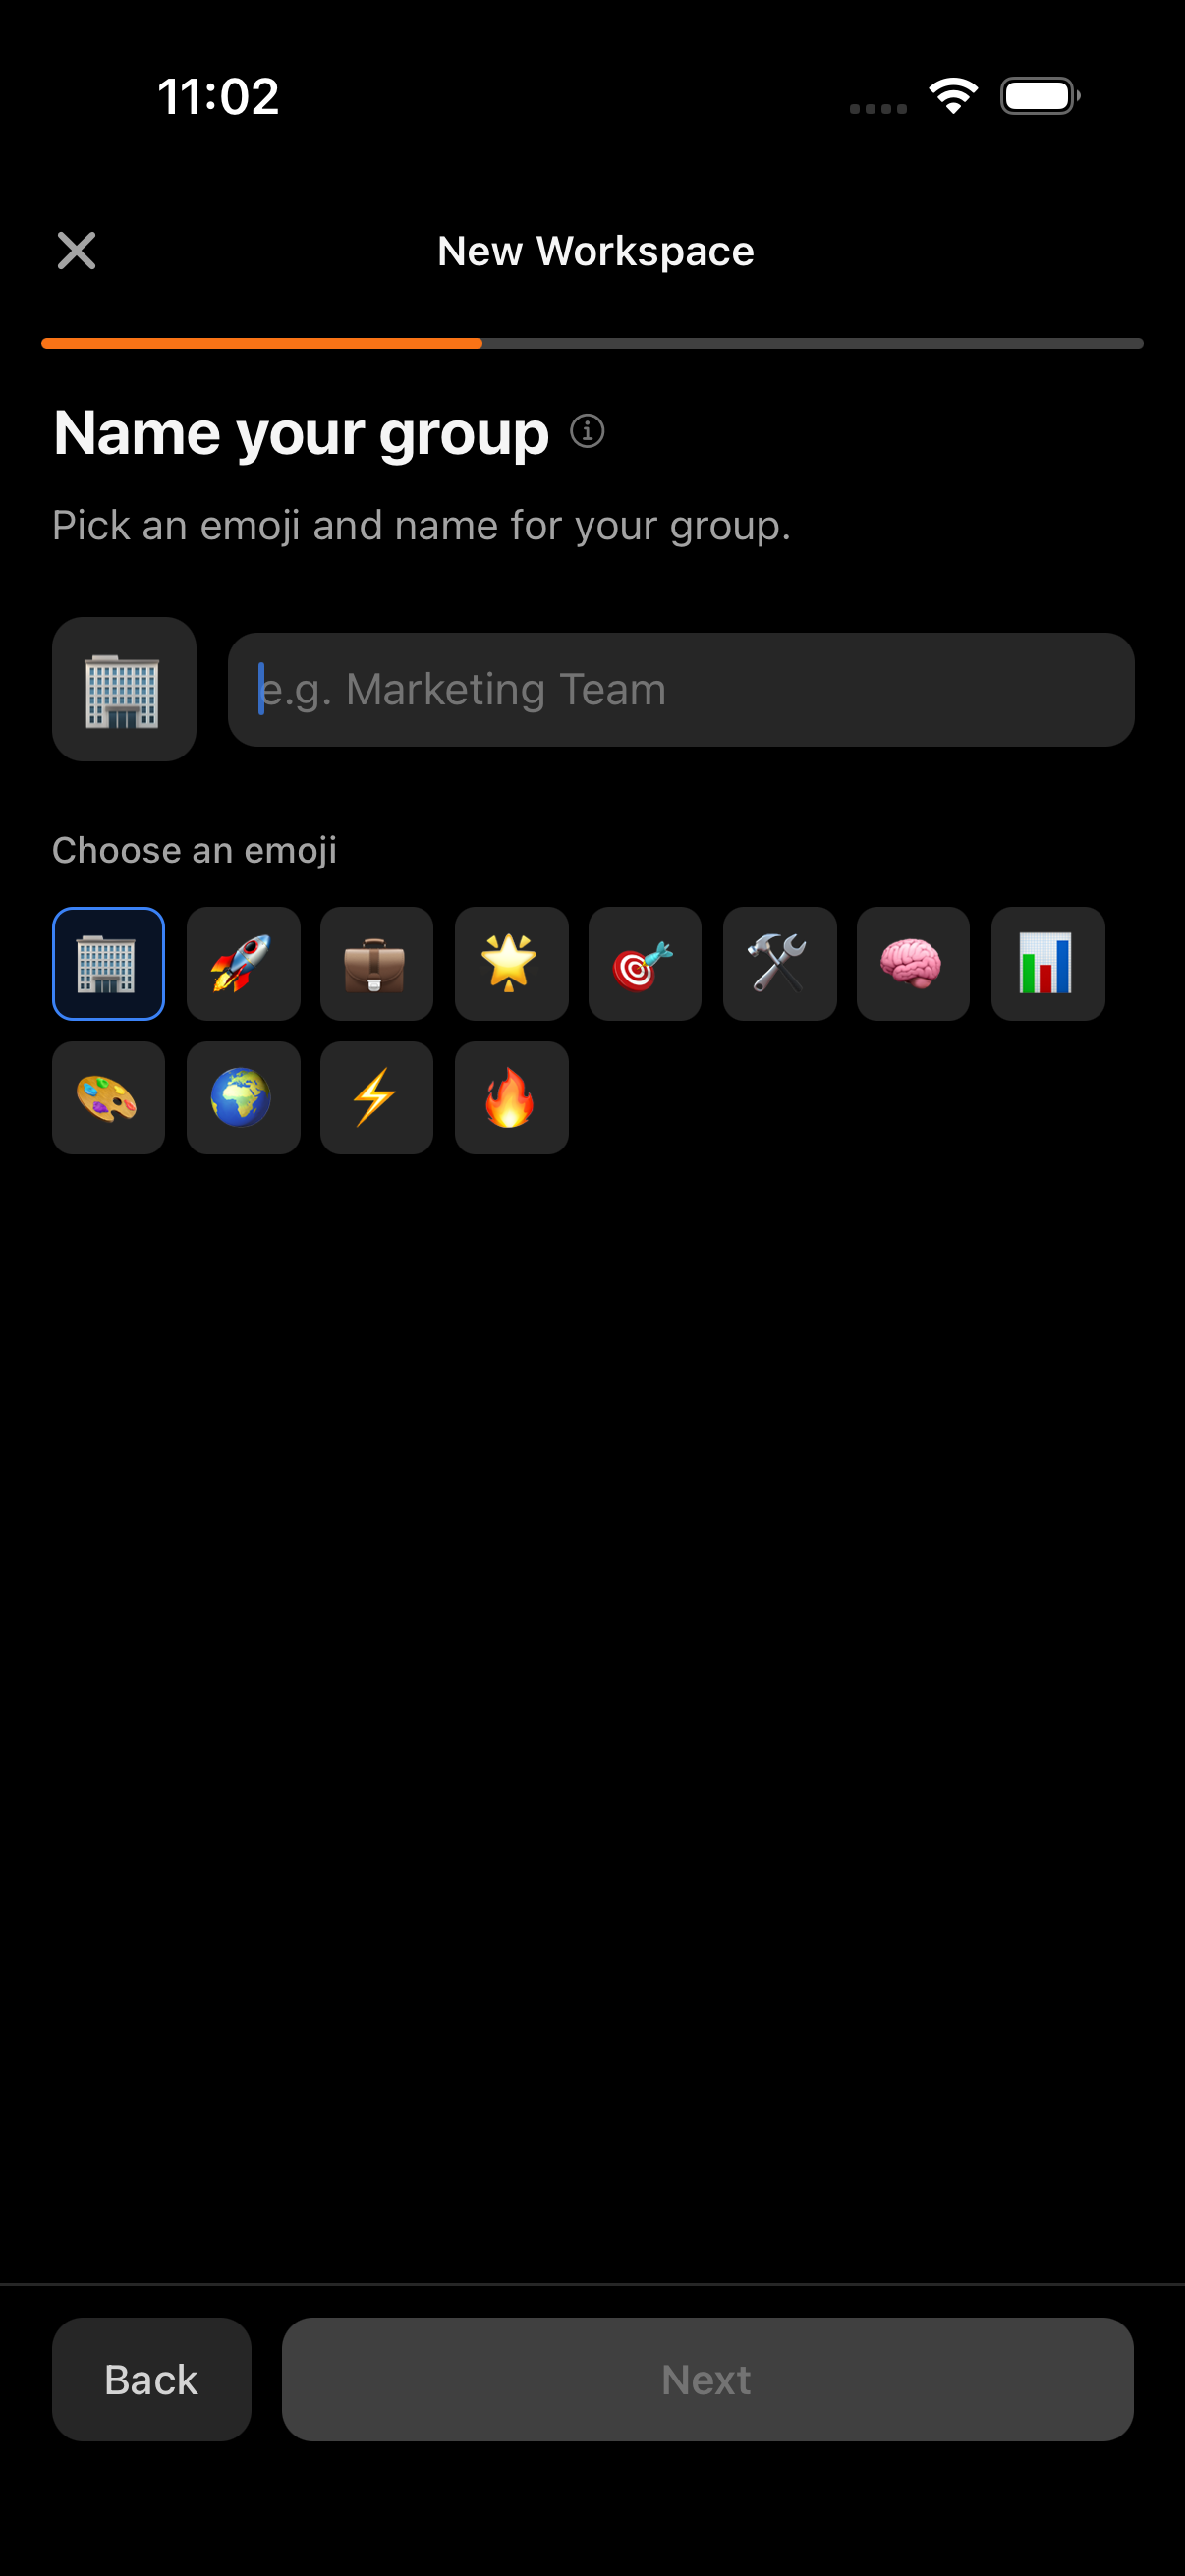
Pick something your team will recognize. You can rename it later from workspace settings.
Step 3: Name your agent
Your workspace gets its own AI agent — the Kyona everyone in the group chats with. Give it a name here. It's the name your team will see on every reply.
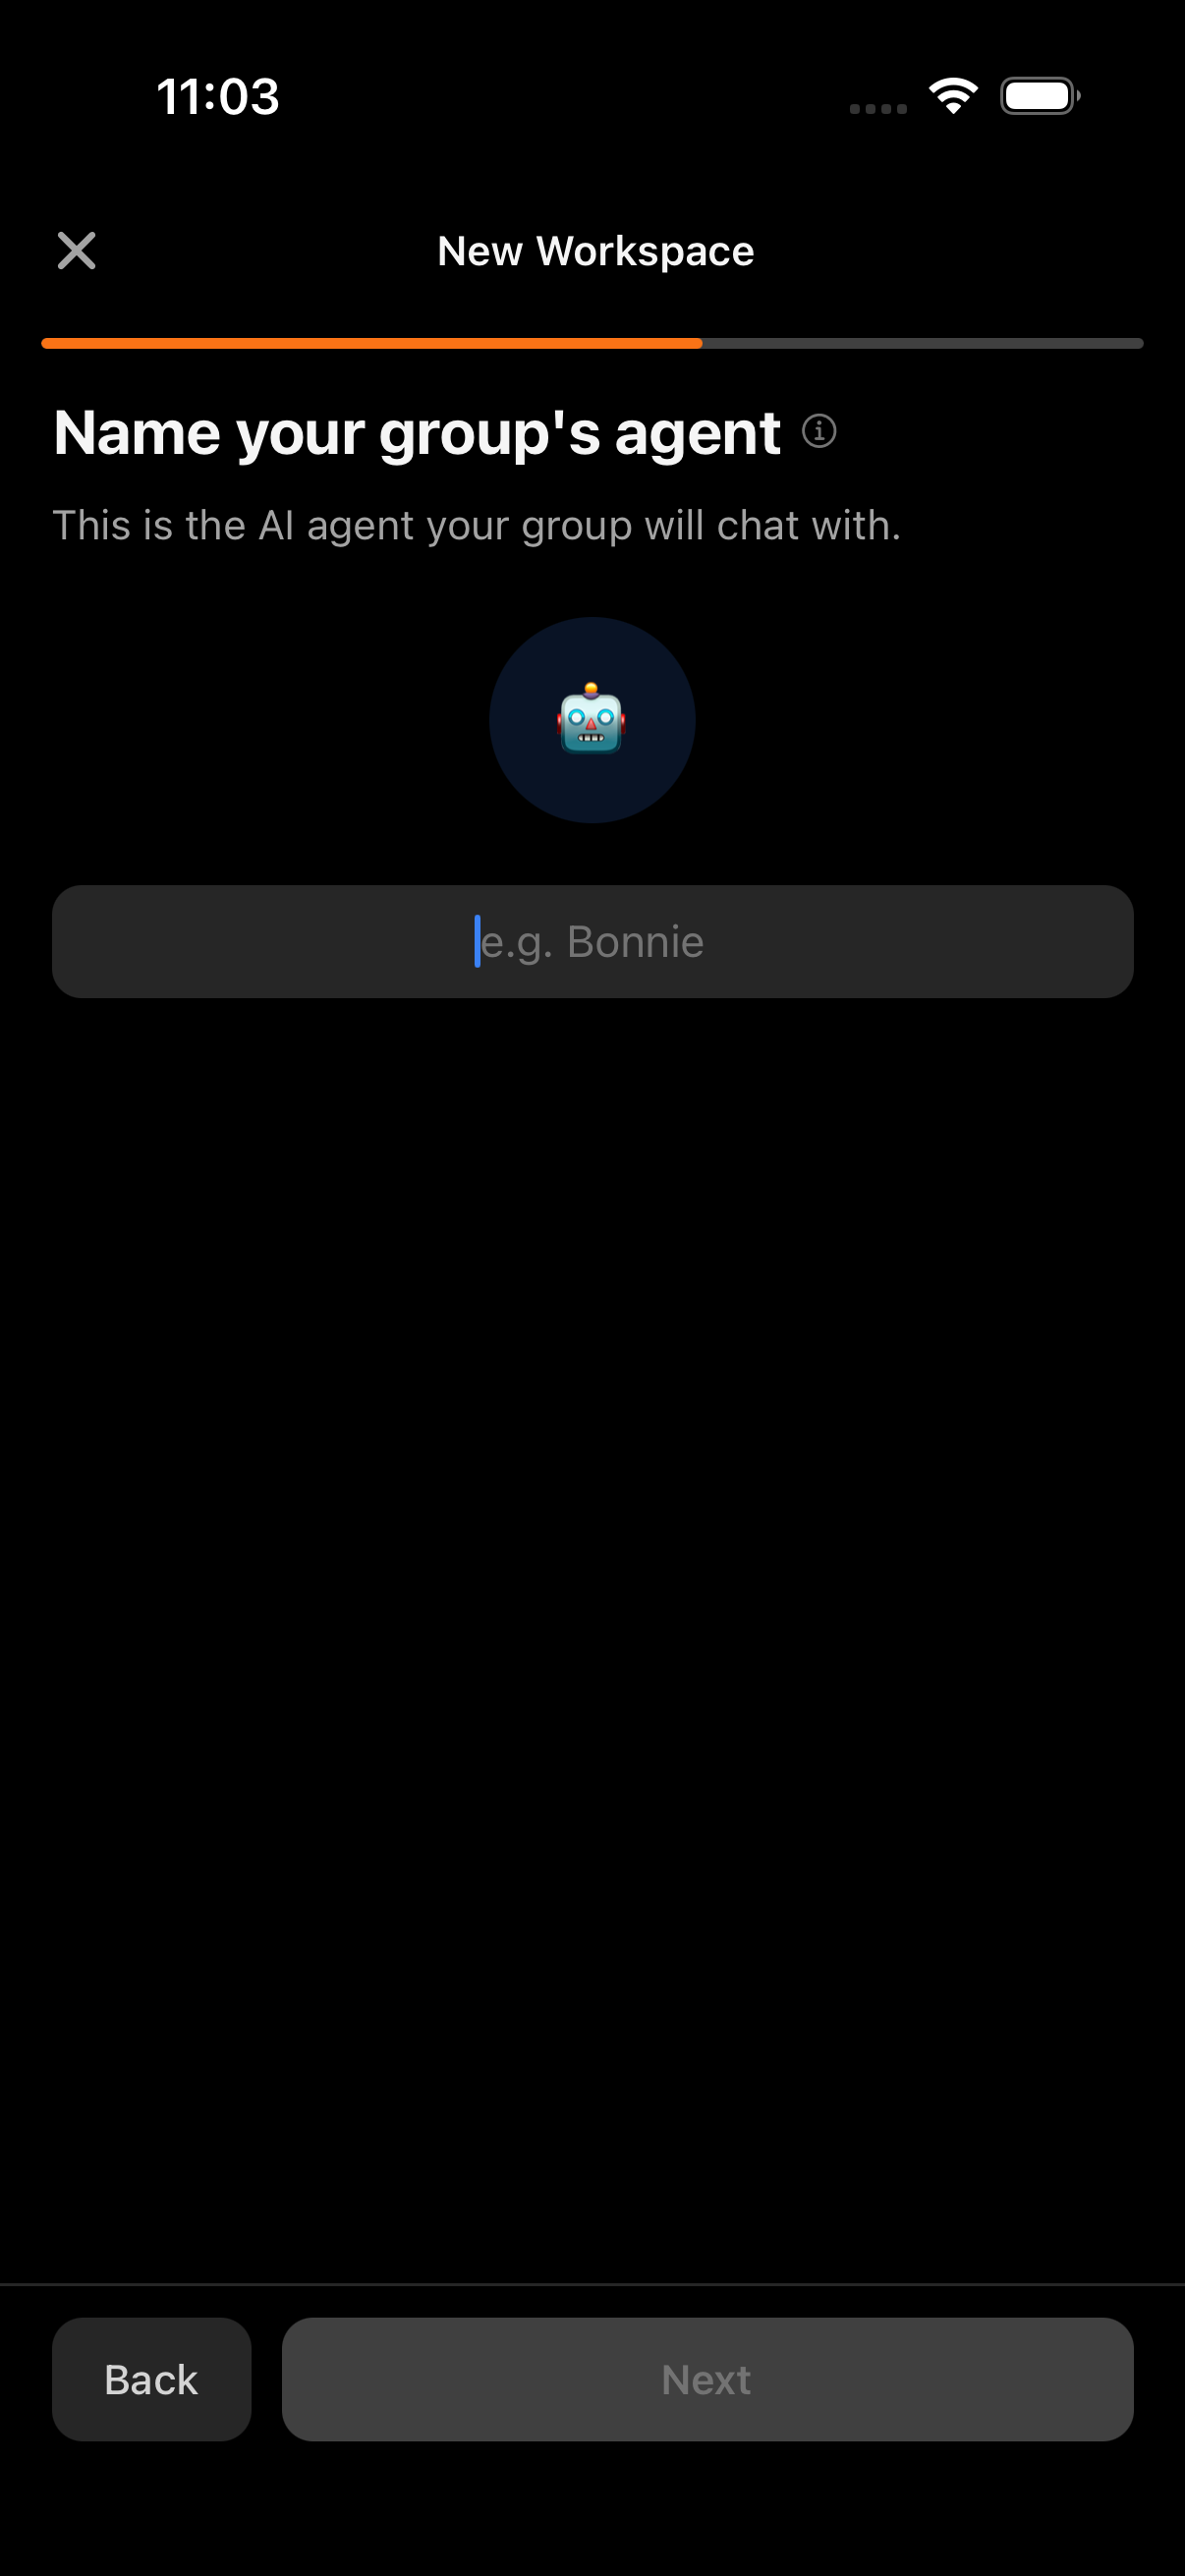
You can rename the agent and adjust its settings later from the workspace's Agent Settings.
Step 4: Choose a channel
A channel lets your team reach the agent from outside the app. Right now you can connect Telegram using a bot token you own — paste it here and Kyona links it in the background. Discord and Slack are coming soon.
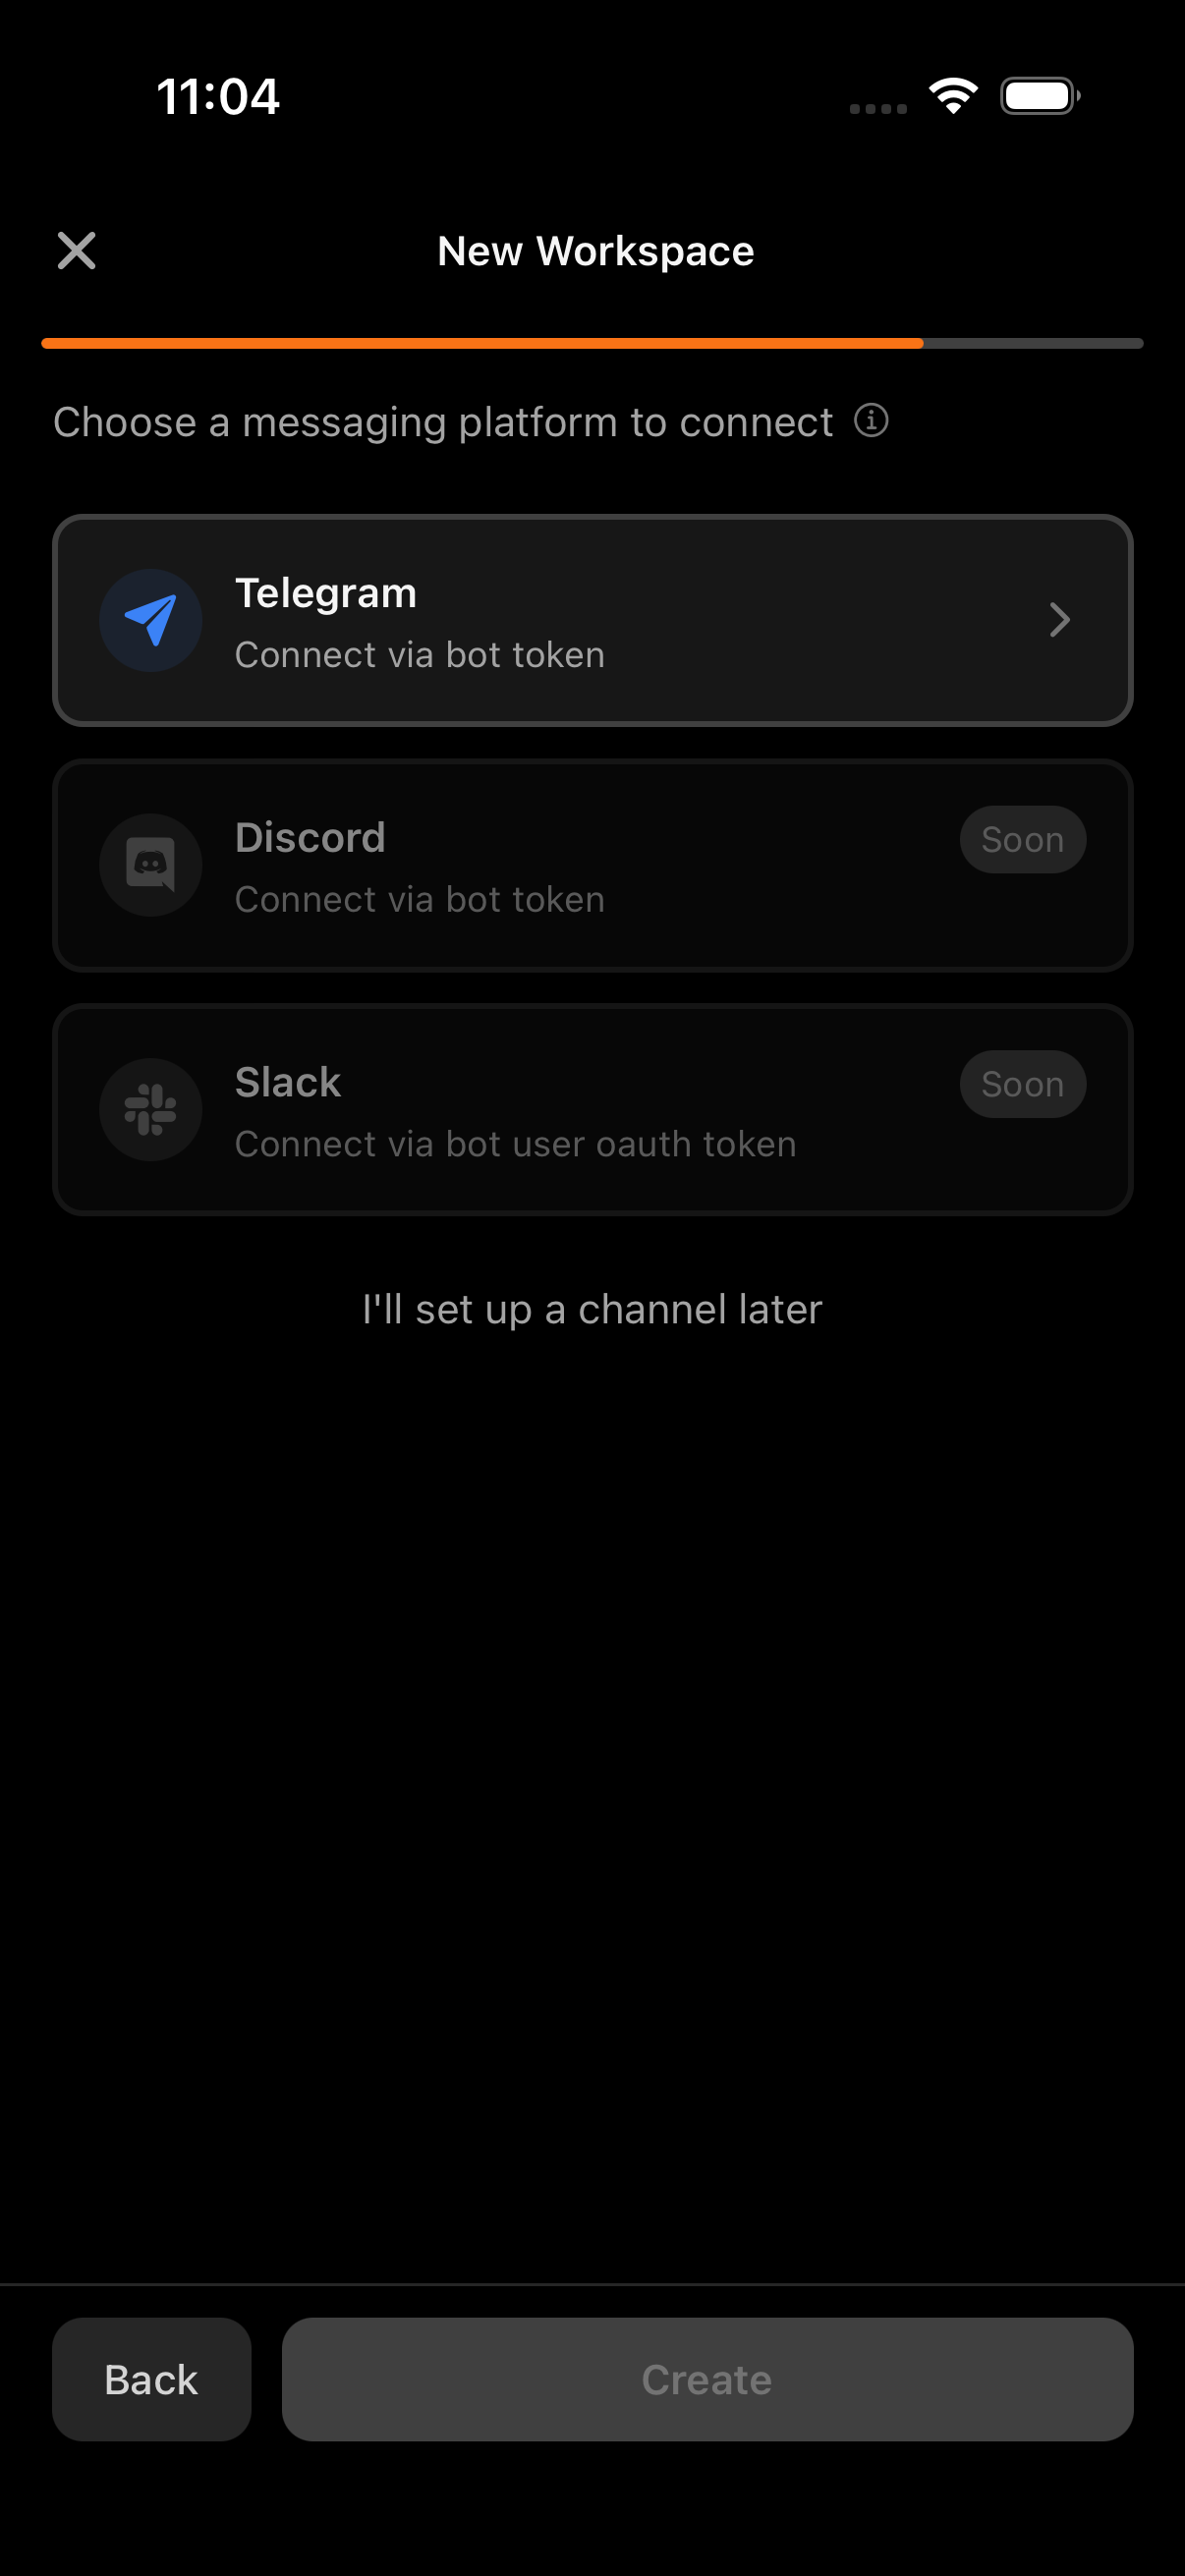
Don't have a bot token yet? Follow the bring your own bot guide to create one through BotFather — it takes about two minutes. You can also tap I'll set up a channel later and connect one from workspace settings whenever you're ready; your team just won't be able to message the agent from Telegram until then.
You're done
Once you tap Create, your workspace is ready. You'll see a confirmation that the workspace and its agent are set up, with a button to jump straight in.
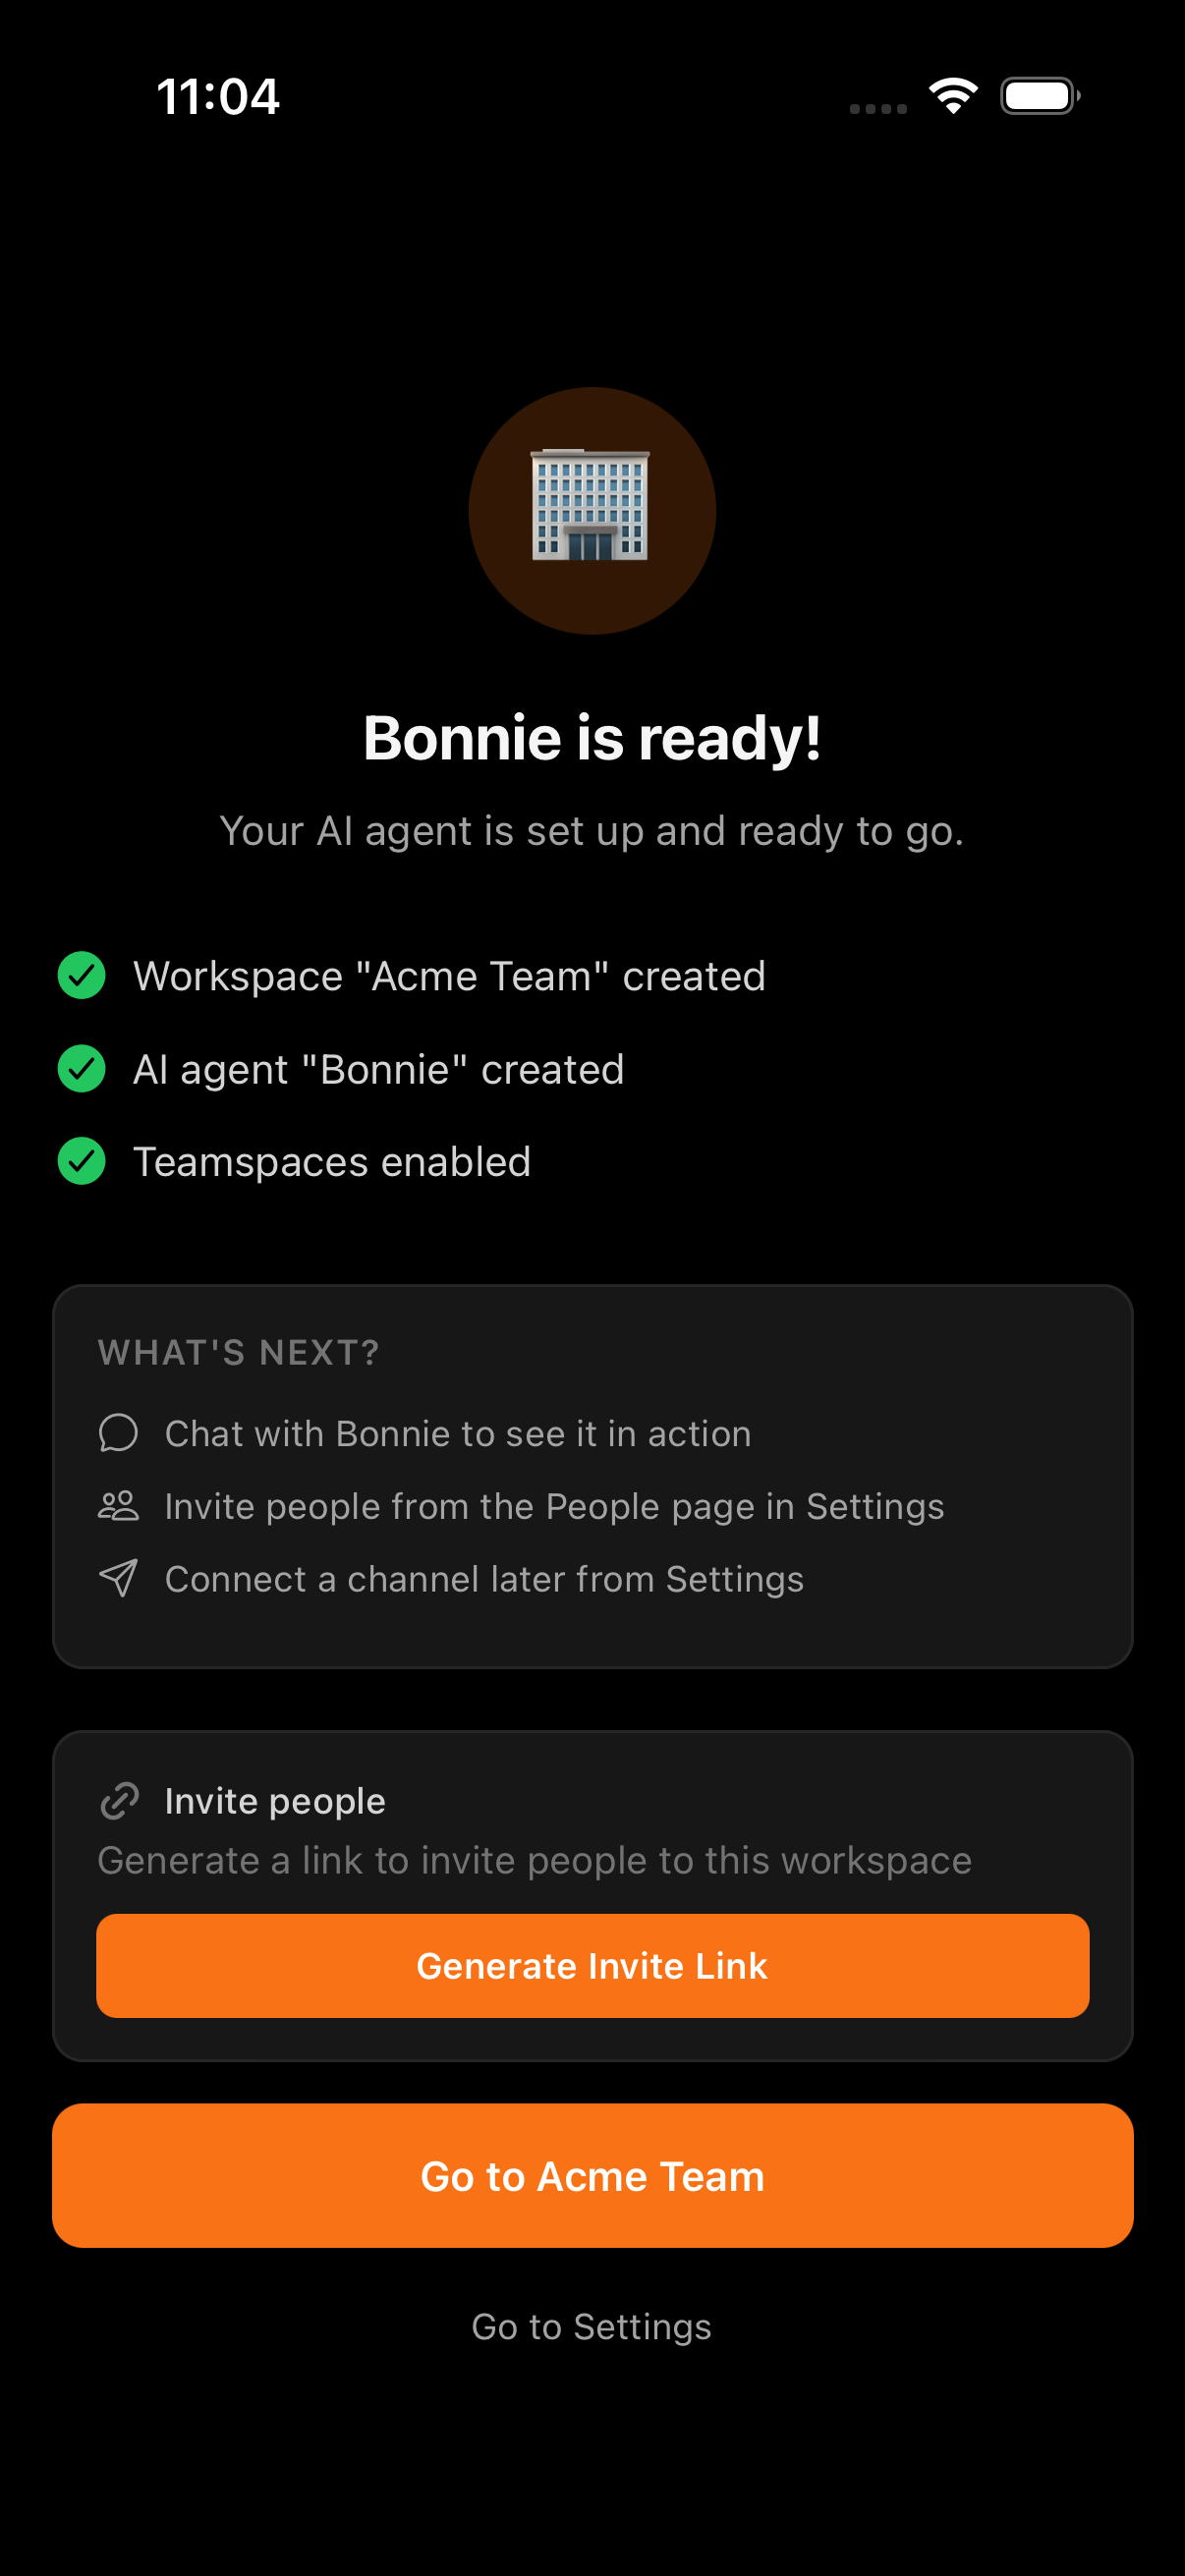
From here you can Generate Invite Link to bring people in, or tap Go to your workspace to land on its home and start a thread with the shared agent right away.
What happens next
After the wizard:
- Invite your team — generate an invite link from the completion screen or from the workspace's People settings, then share it. People join by opening the link and signing in to Kyona, and the workspace then shows up in their switcher. See Members and teamspaces for roles and details.
- Connect a channel later if you skipped it — set up your Telegram bot from workspace settings so the team can chat with the agent outside the app.
- Organize with teamspaces if you picked Organization — give different groups their own area and context. Most small teams don't need them and can add them later as they grow.
- Adjust anything later — the workspace name, agent, channel, teamspaces, and members are all editable from workspace settings.
See also
- Bring your own Telegram bot — create a Telegram bot through BotFather and get the token you'll paste in step 4.
- Members and teamspaces — invite people, change roles, and organize teamspaces.
- Workspaces overview — how shared workspaces compare to your personal Kyona.
Workspaces
Personal and shared workspaces are two parallel Kyonas. Personal is your own; shared is for teams. Each has its own memory, apps, and channels.
Bring your own Telegram bot
For shared workspaces — bring your own Telegram bot so your team can chat with the workspace's Kyona under your team's name and branding.